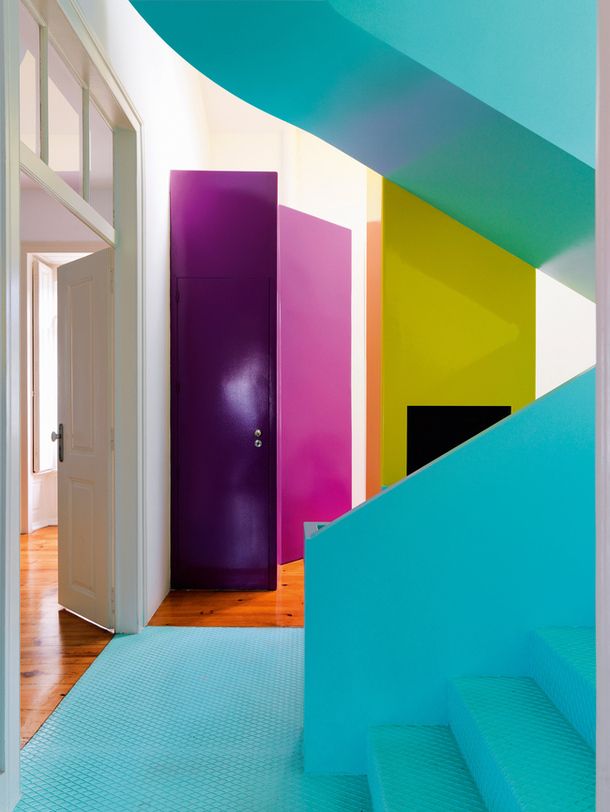
Well I would beg to differ! A door can be so much more than just a door. So can a doorway.
Abigail Ahern suggests removing doors to open up space and allow for greater design fluidity in the home. I do agree with her to a degree, however, I also quite like a door myself. So to all my fellow door fans, here are some of my favourite doors together with fantastic ideas as to how to make a feature of a door and/or doorway, and ways of repurposing the ubiquitous door. I hope you enjoy!
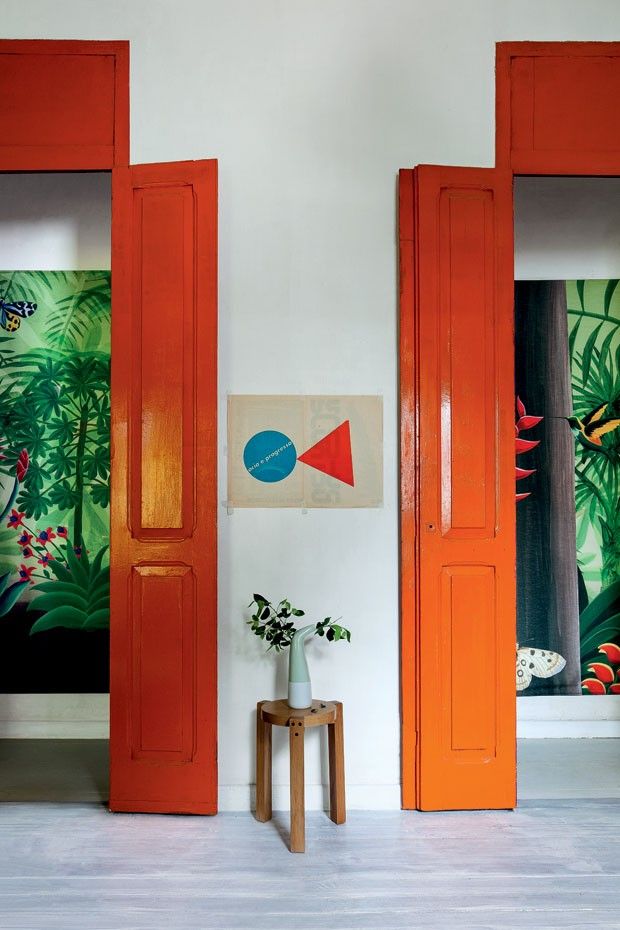
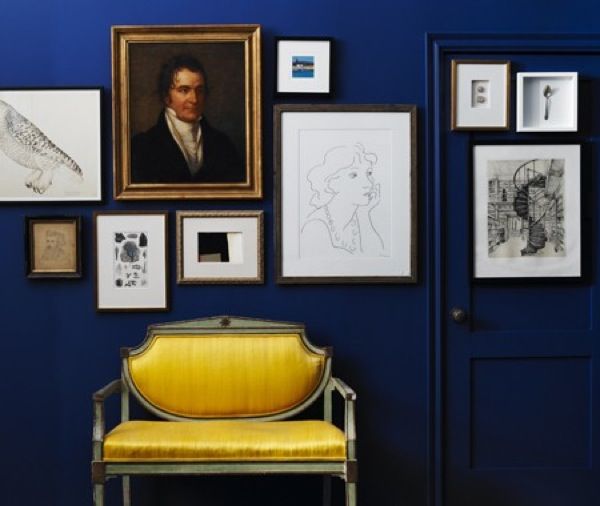
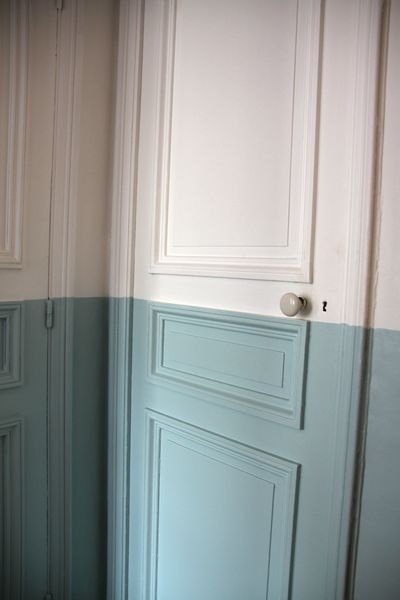
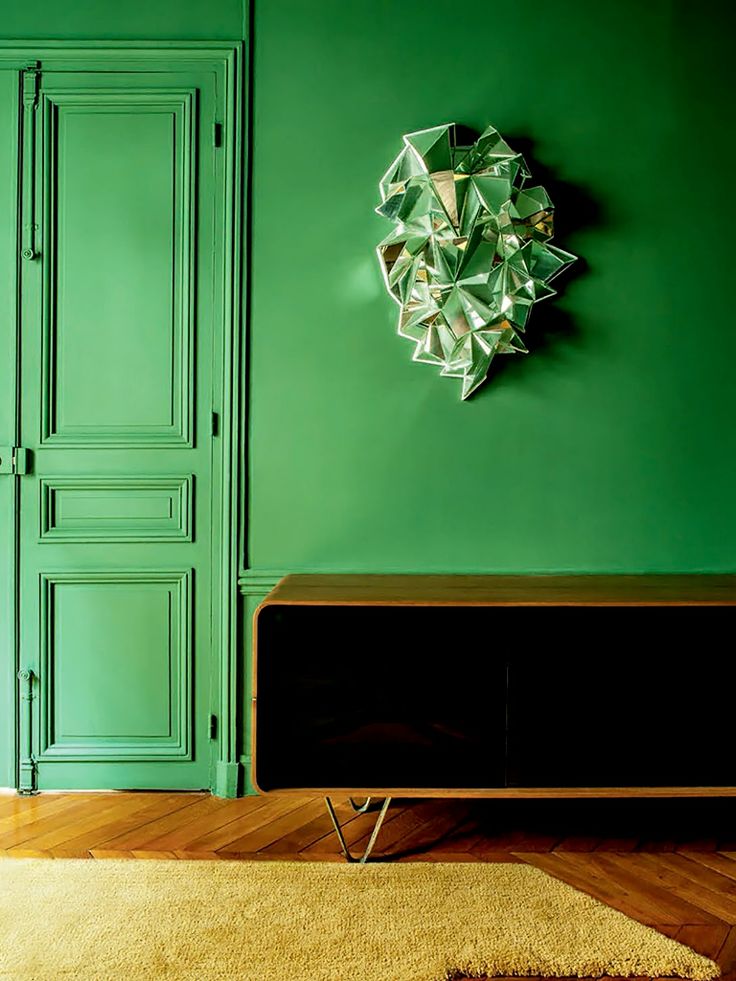
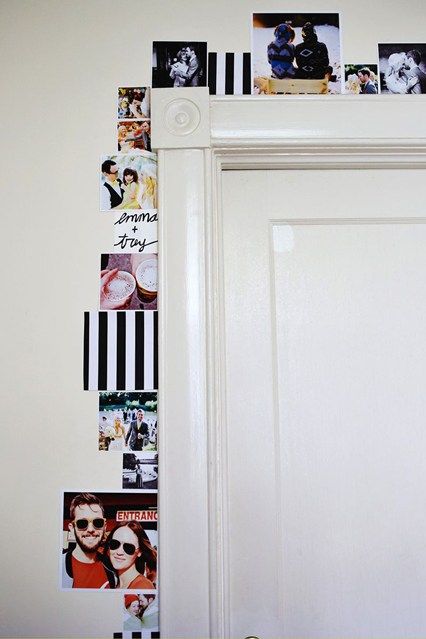
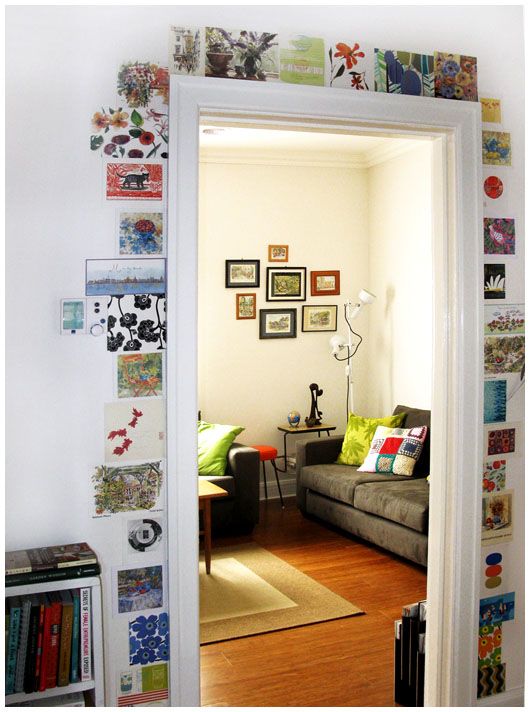
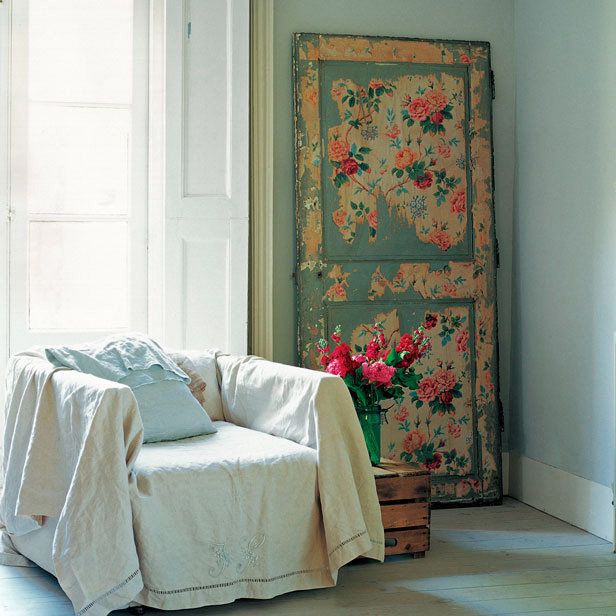
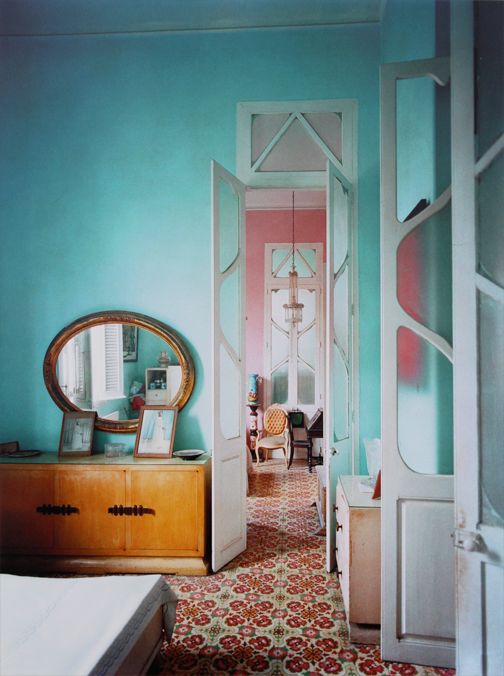
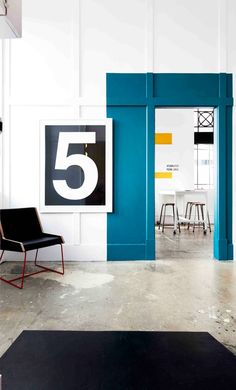
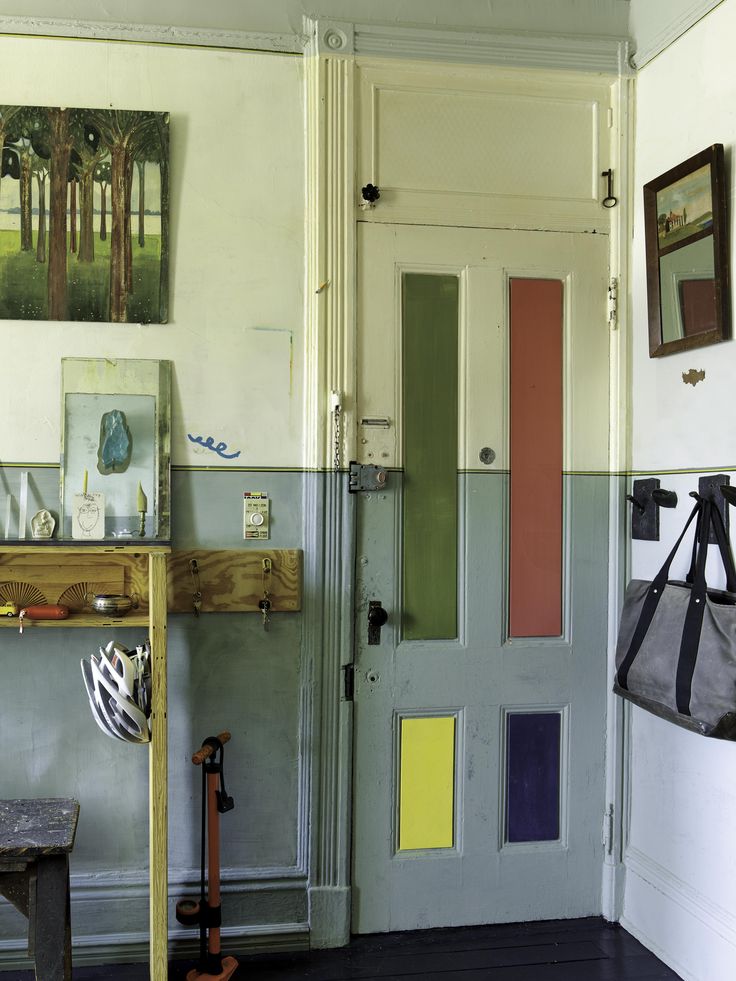
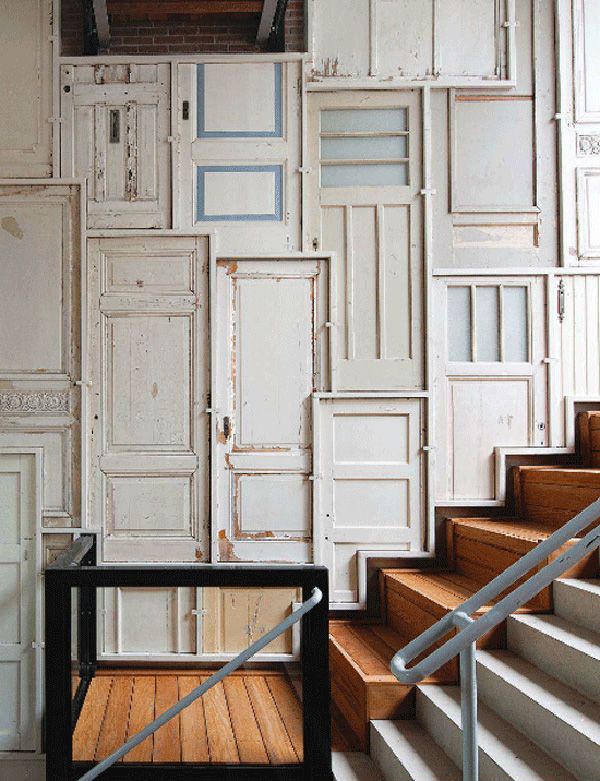
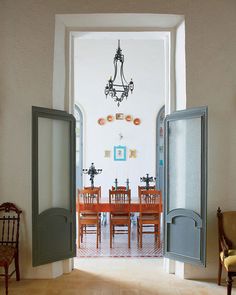
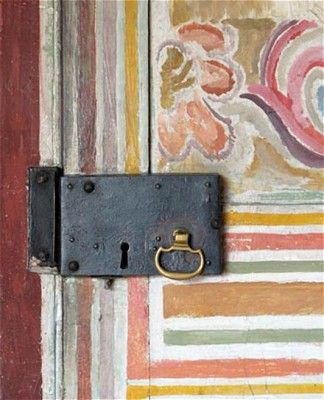
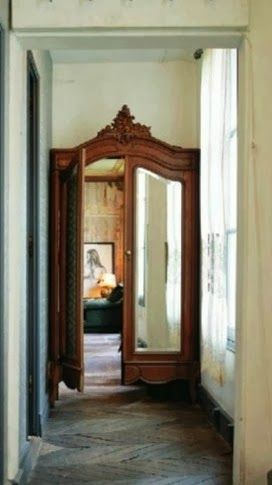
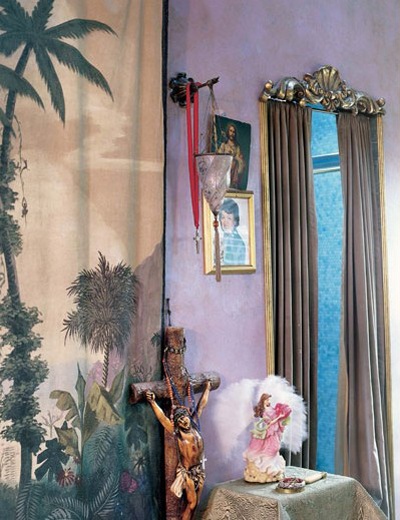
Sliding industrial door. (pinterest)Bold and bright doorways. (pinterest)Door as gallery wall. (pinterest)Two-tone door. (pinterest)A bold green door. (http://avaxhome.ws/blogs/FAV2009)Gallery door. (pinterest)Gallery door 2. (pinterest)Repurposed door. (pinterest)Havana doors. (pinterest)Defining the doorway. (pinterest)Multicoloured door. (pinterest)Repurposed doors. (remodelista)Door as chalkboard. (pinterest)Saloon doors. (pinterest)Colour heaven. (pinterest)Door as canvas, Charleston Farmhouse. (pinterest)Fairytale door. (pinterest)Curtained door. (pinterest)
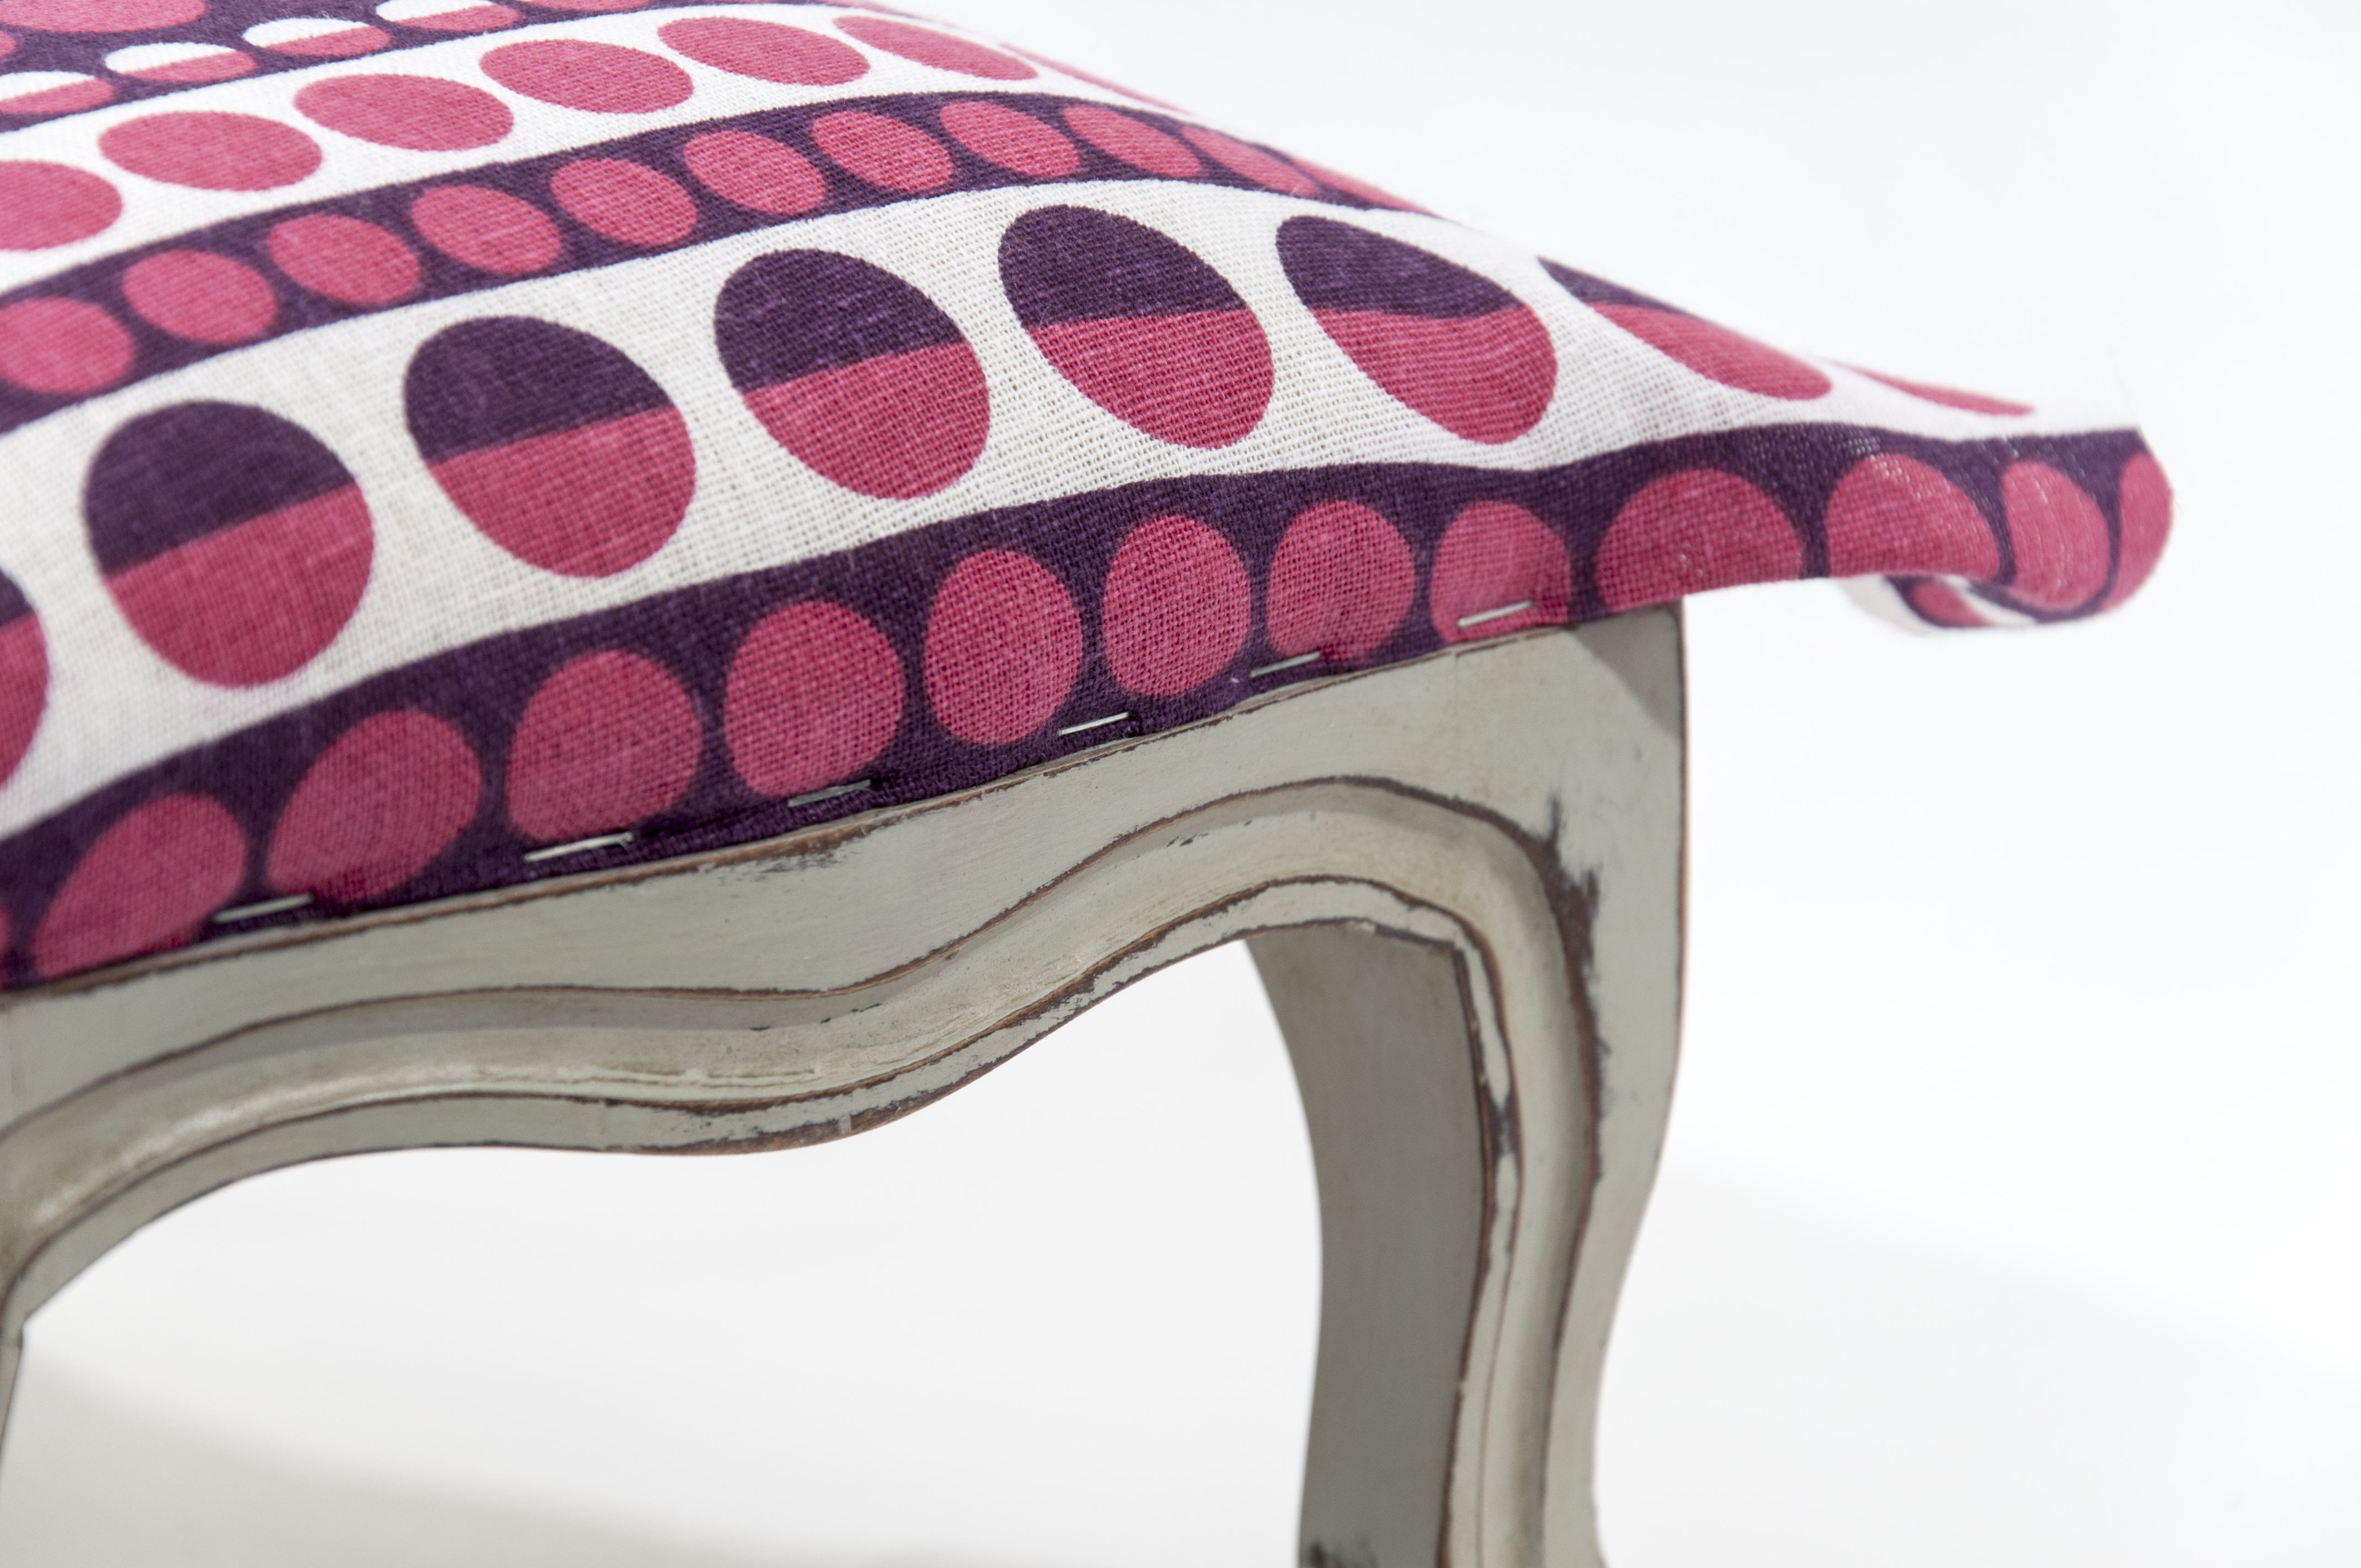
Breathe some life back into a sad-looking charity-shop find and create a stunning conversation piece for your home.
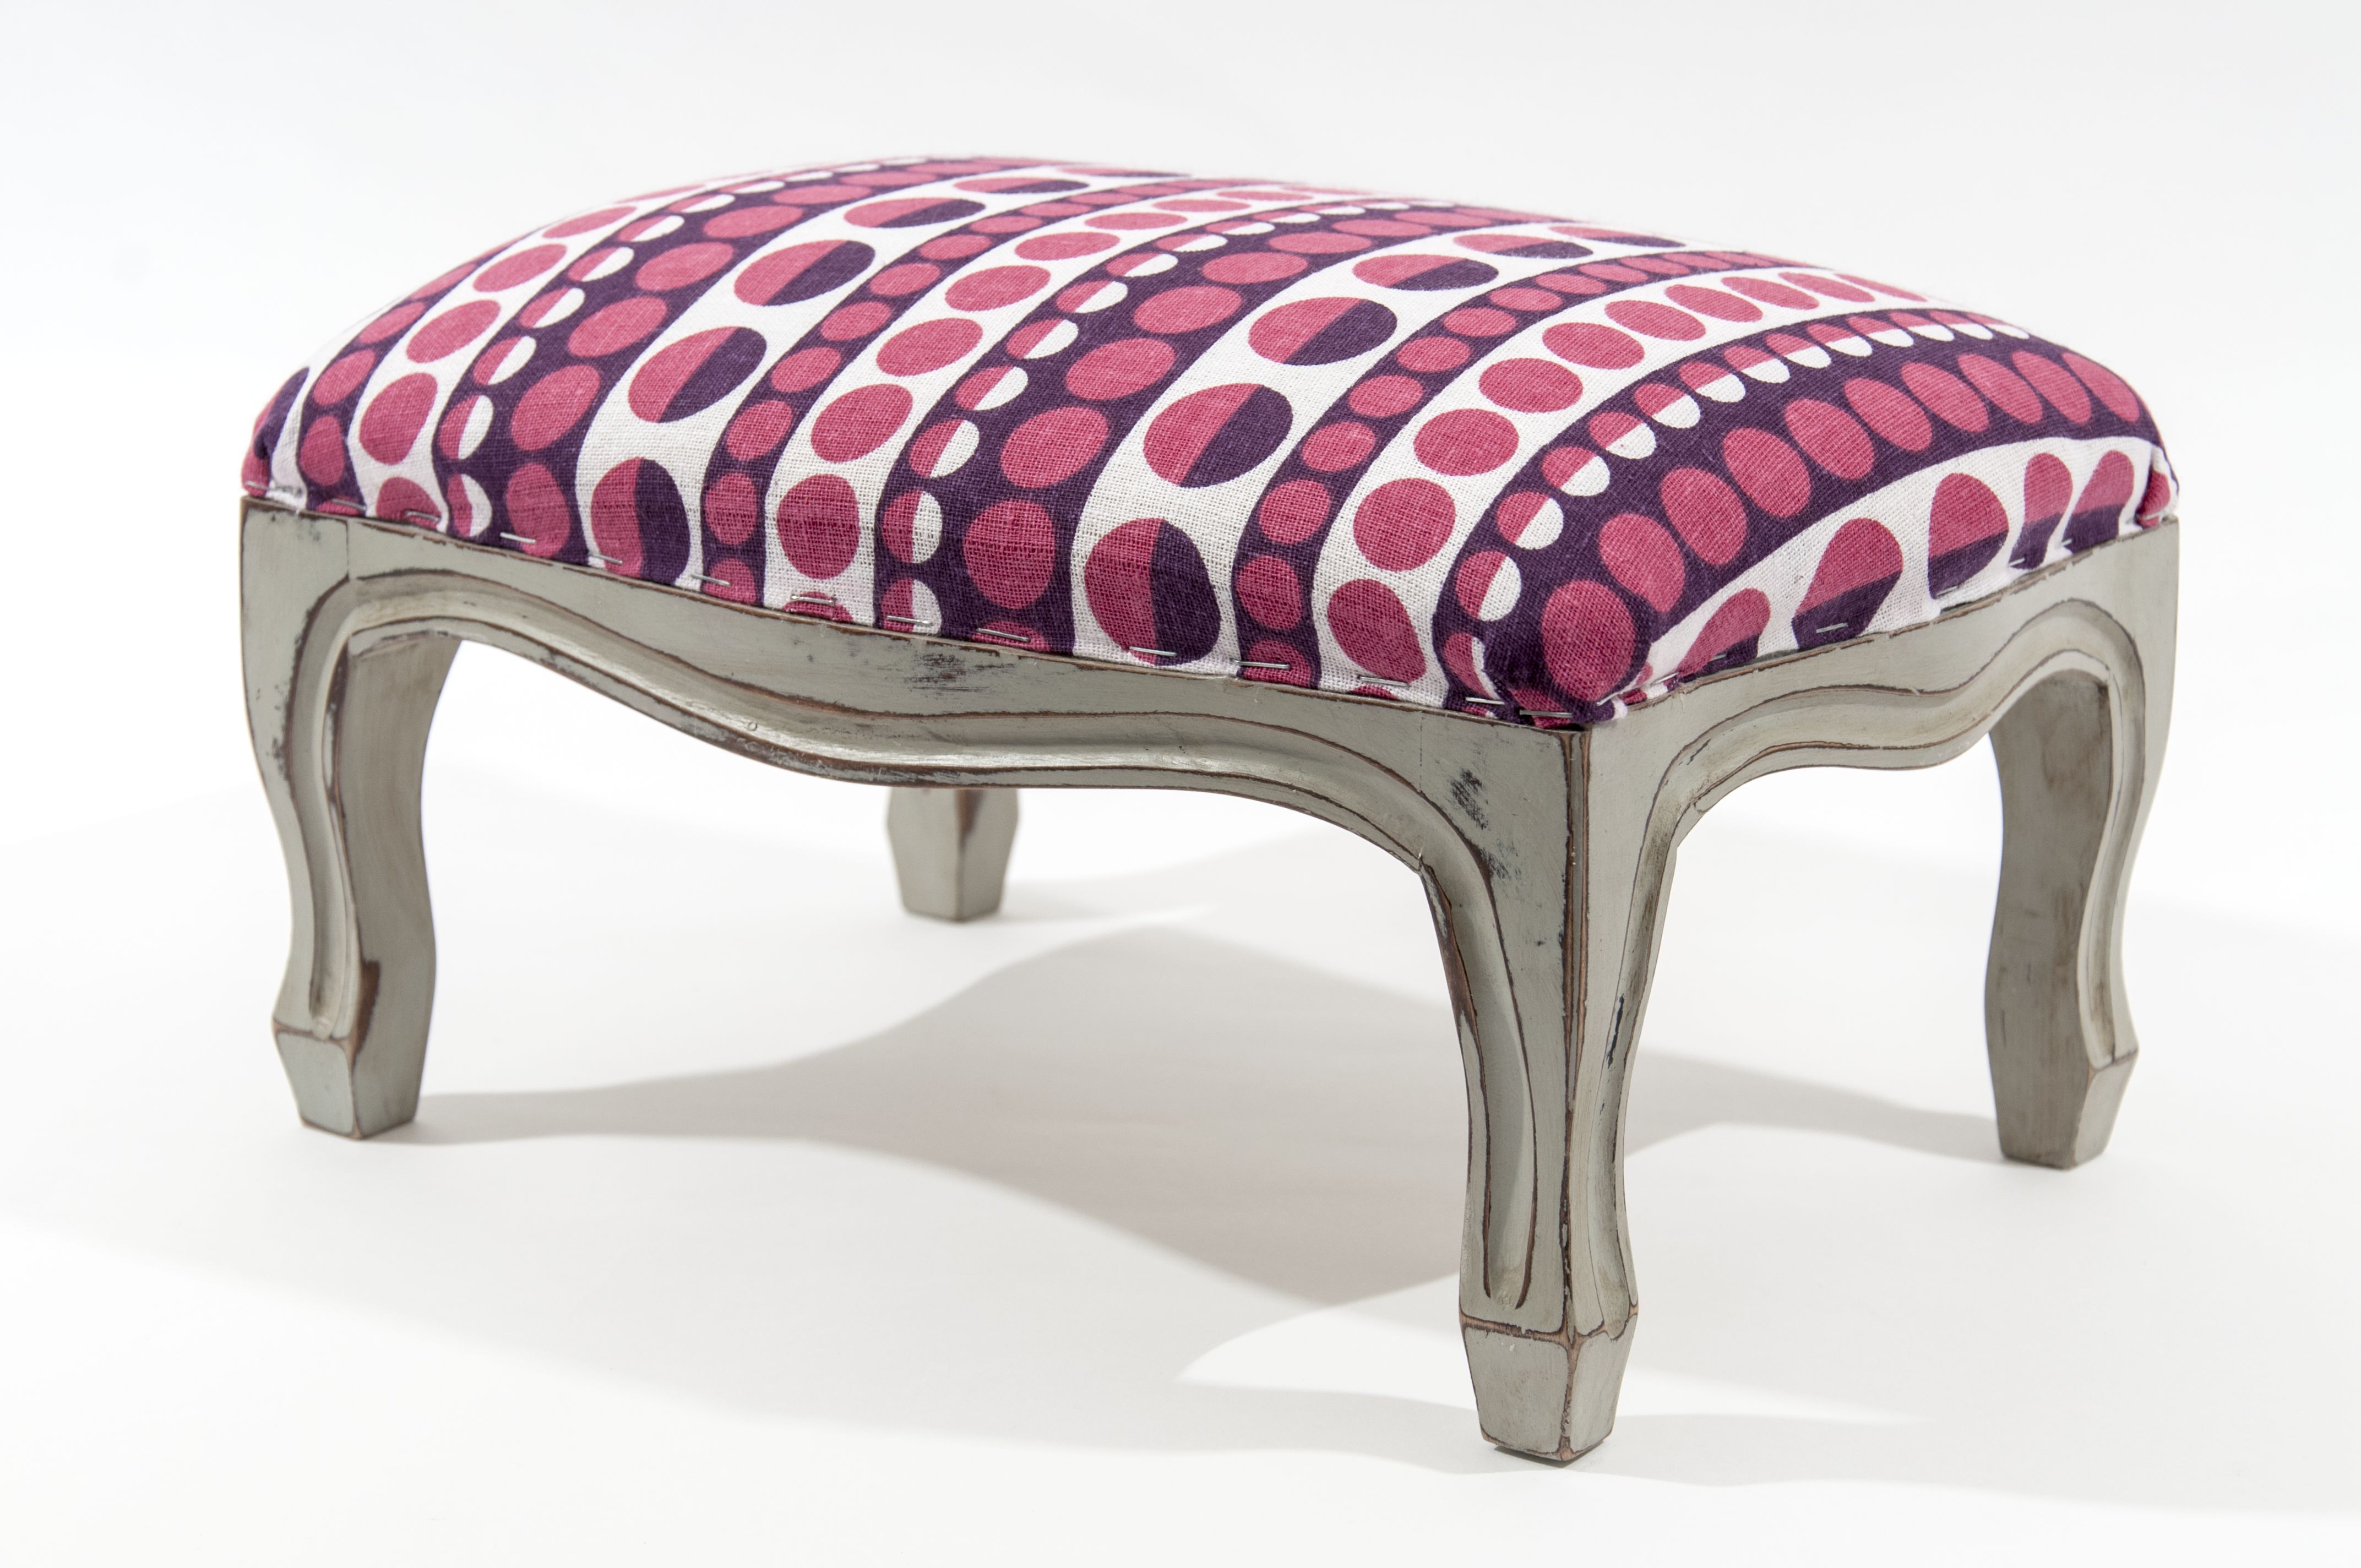
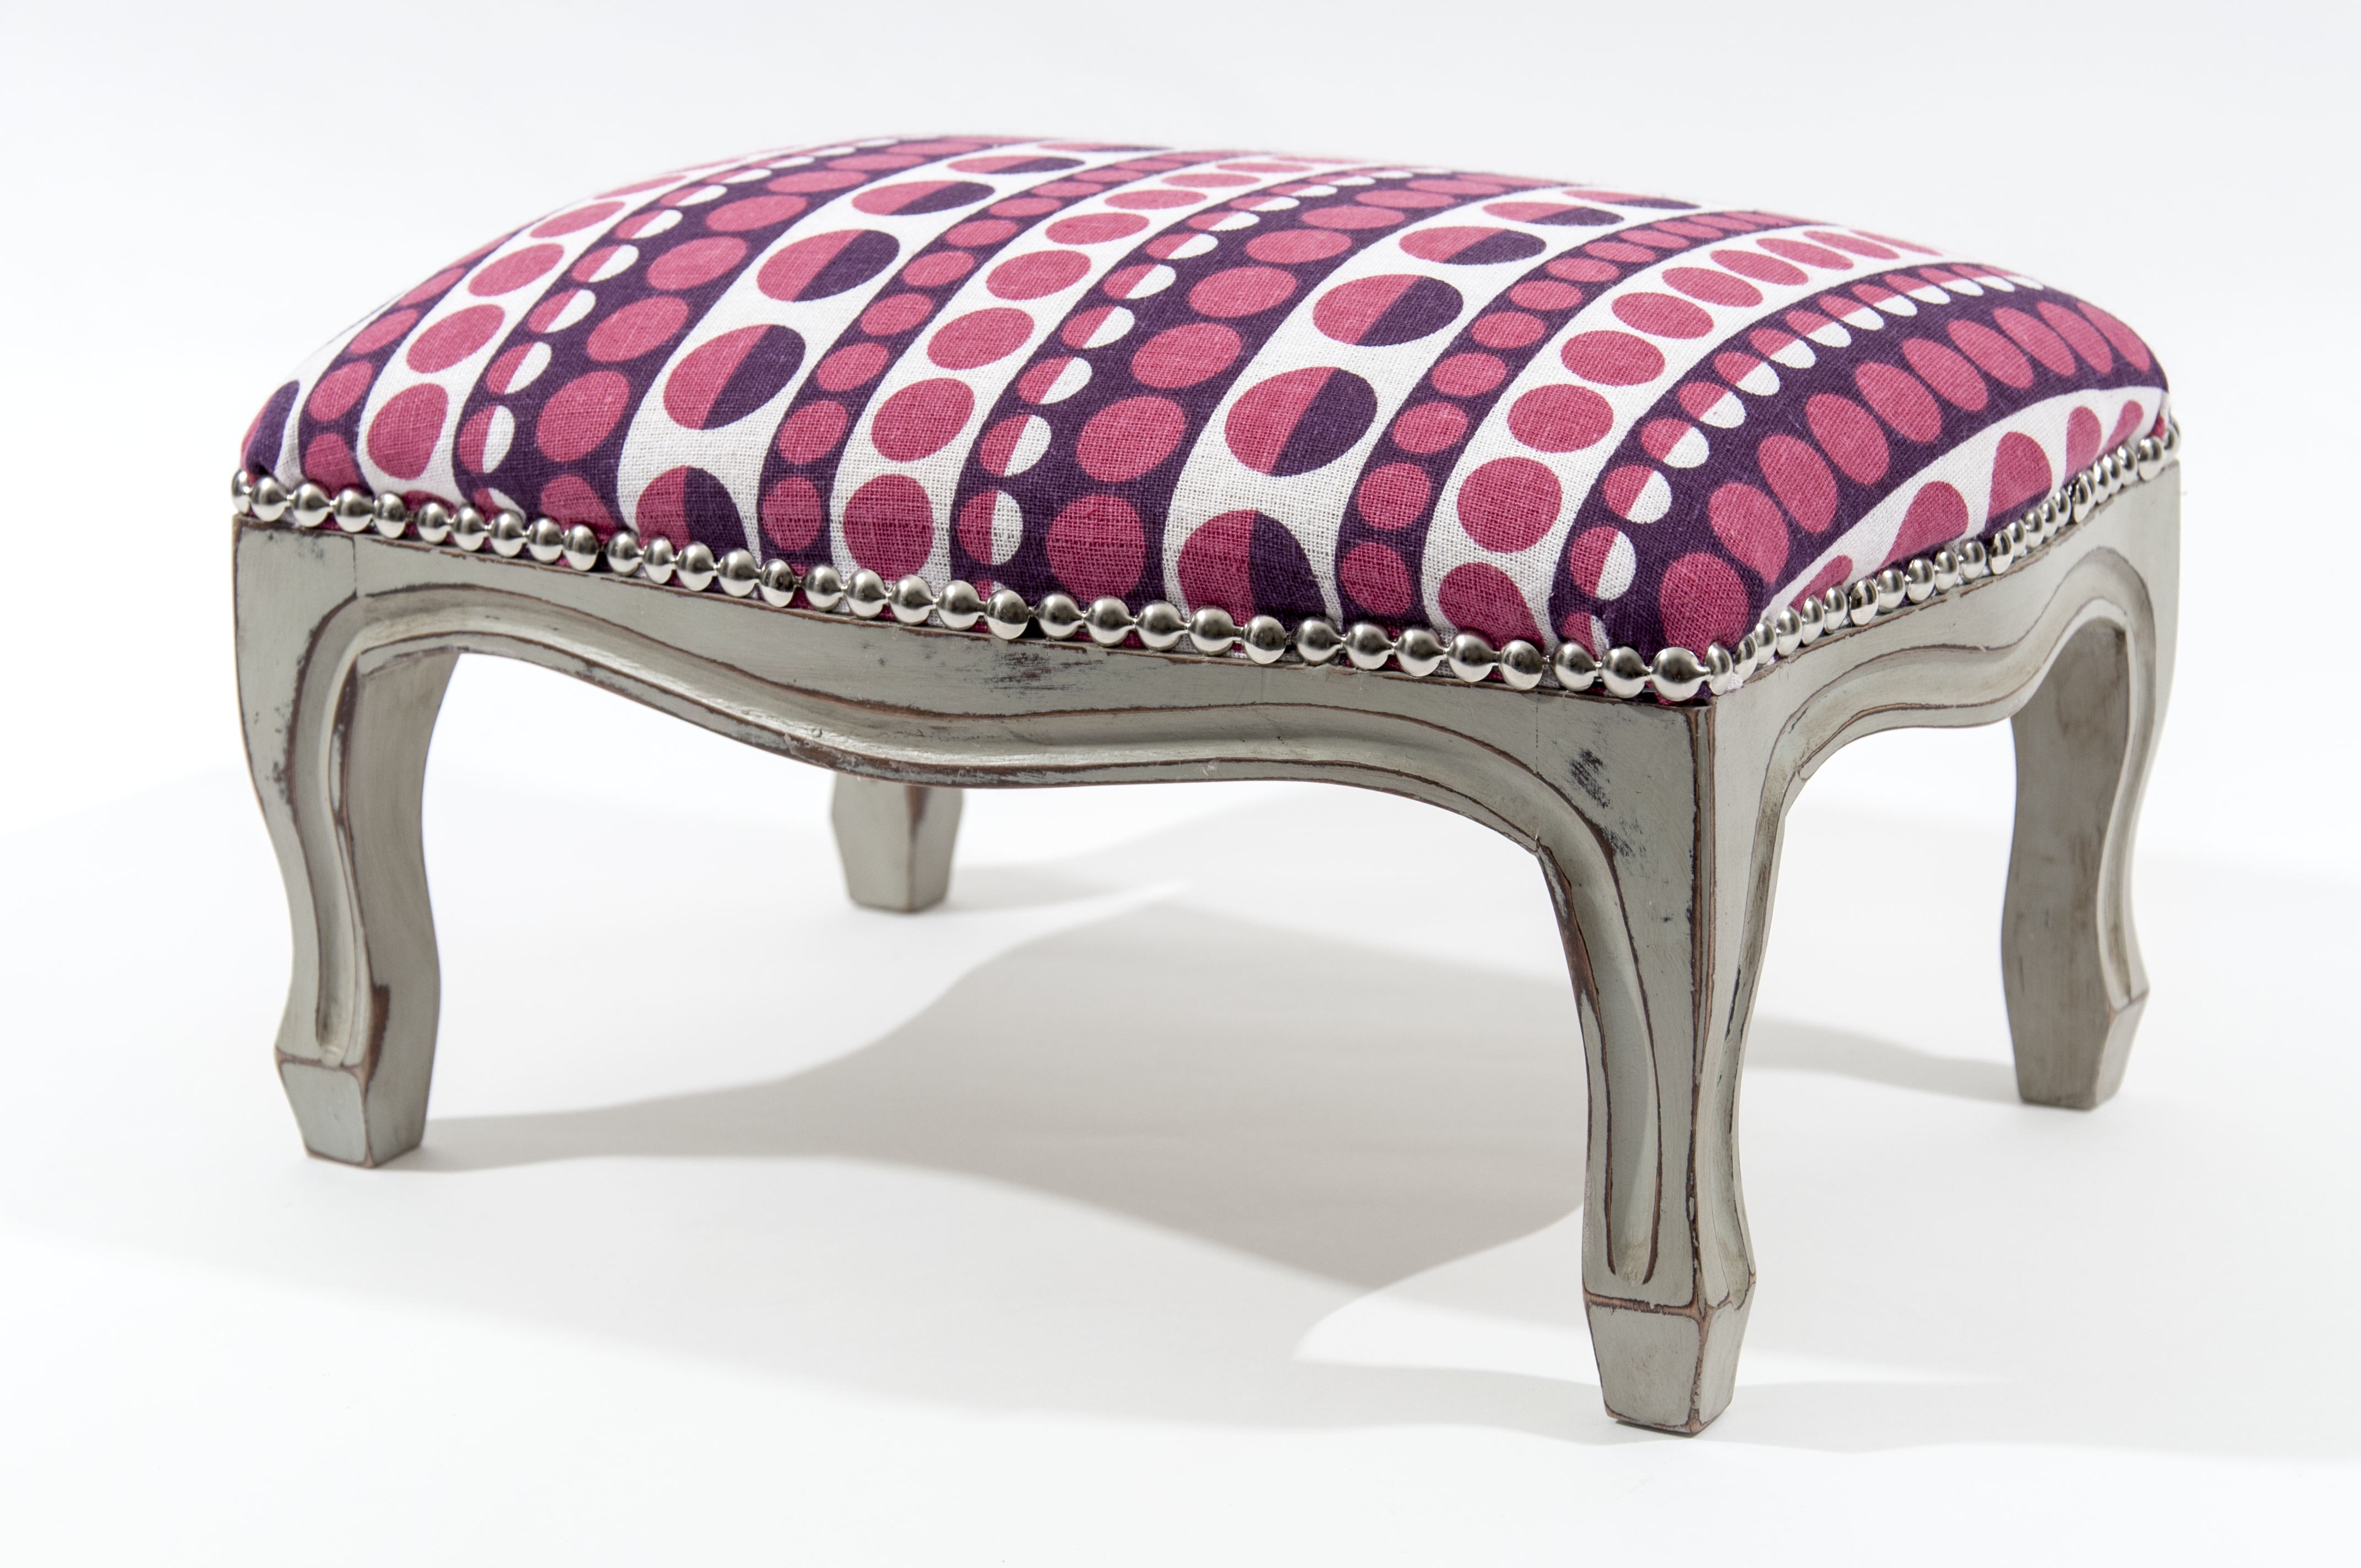
Today I am going to show you how to quickly and easily transform a tatty old foot stool into a quirky, unique object of beauty for the home. A foot stool makes a great little punch of detail in a room if you don’t feel confident yet to reupholster a whole chair or sofa. Kids love sitting on them too! So let’s get creating… I hope you enjoy it.
What you will need:
-A foot stool
-Fabric
-Staple gun plus staples
-Hammer
-Pliers
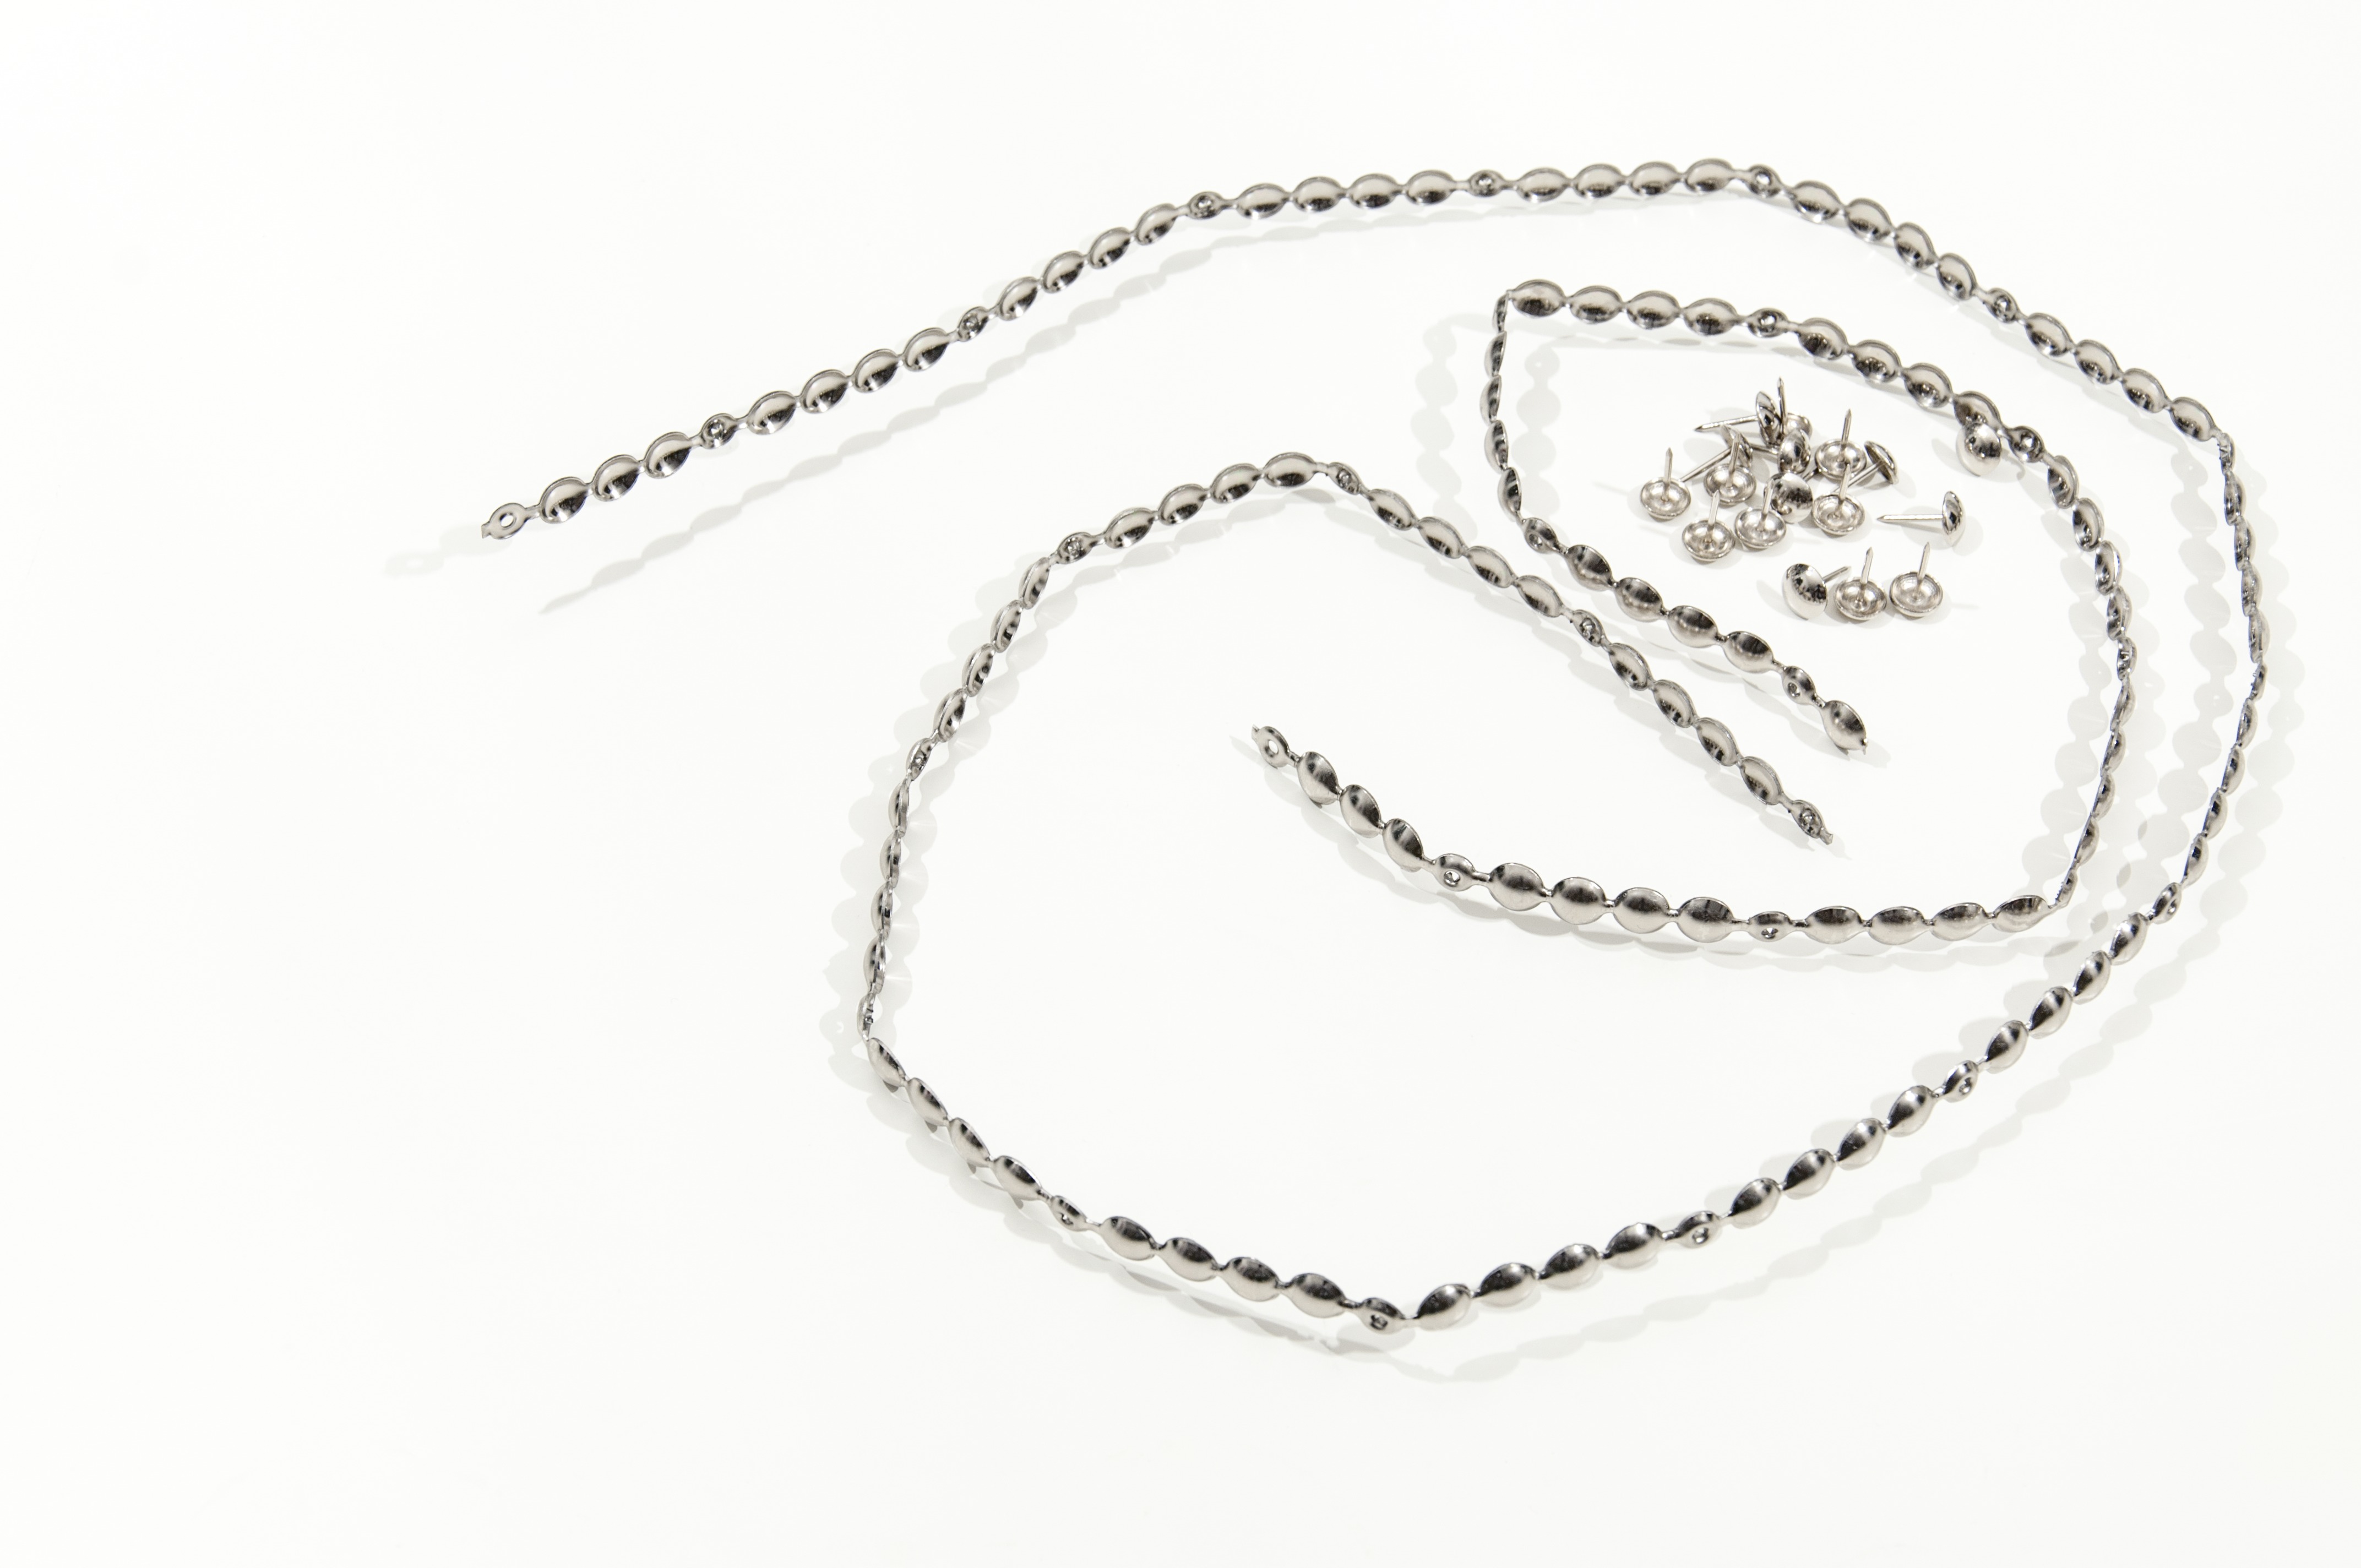
-Upholstery tack strip trim plus tacks (you can use just standard tacks, but strips save time)
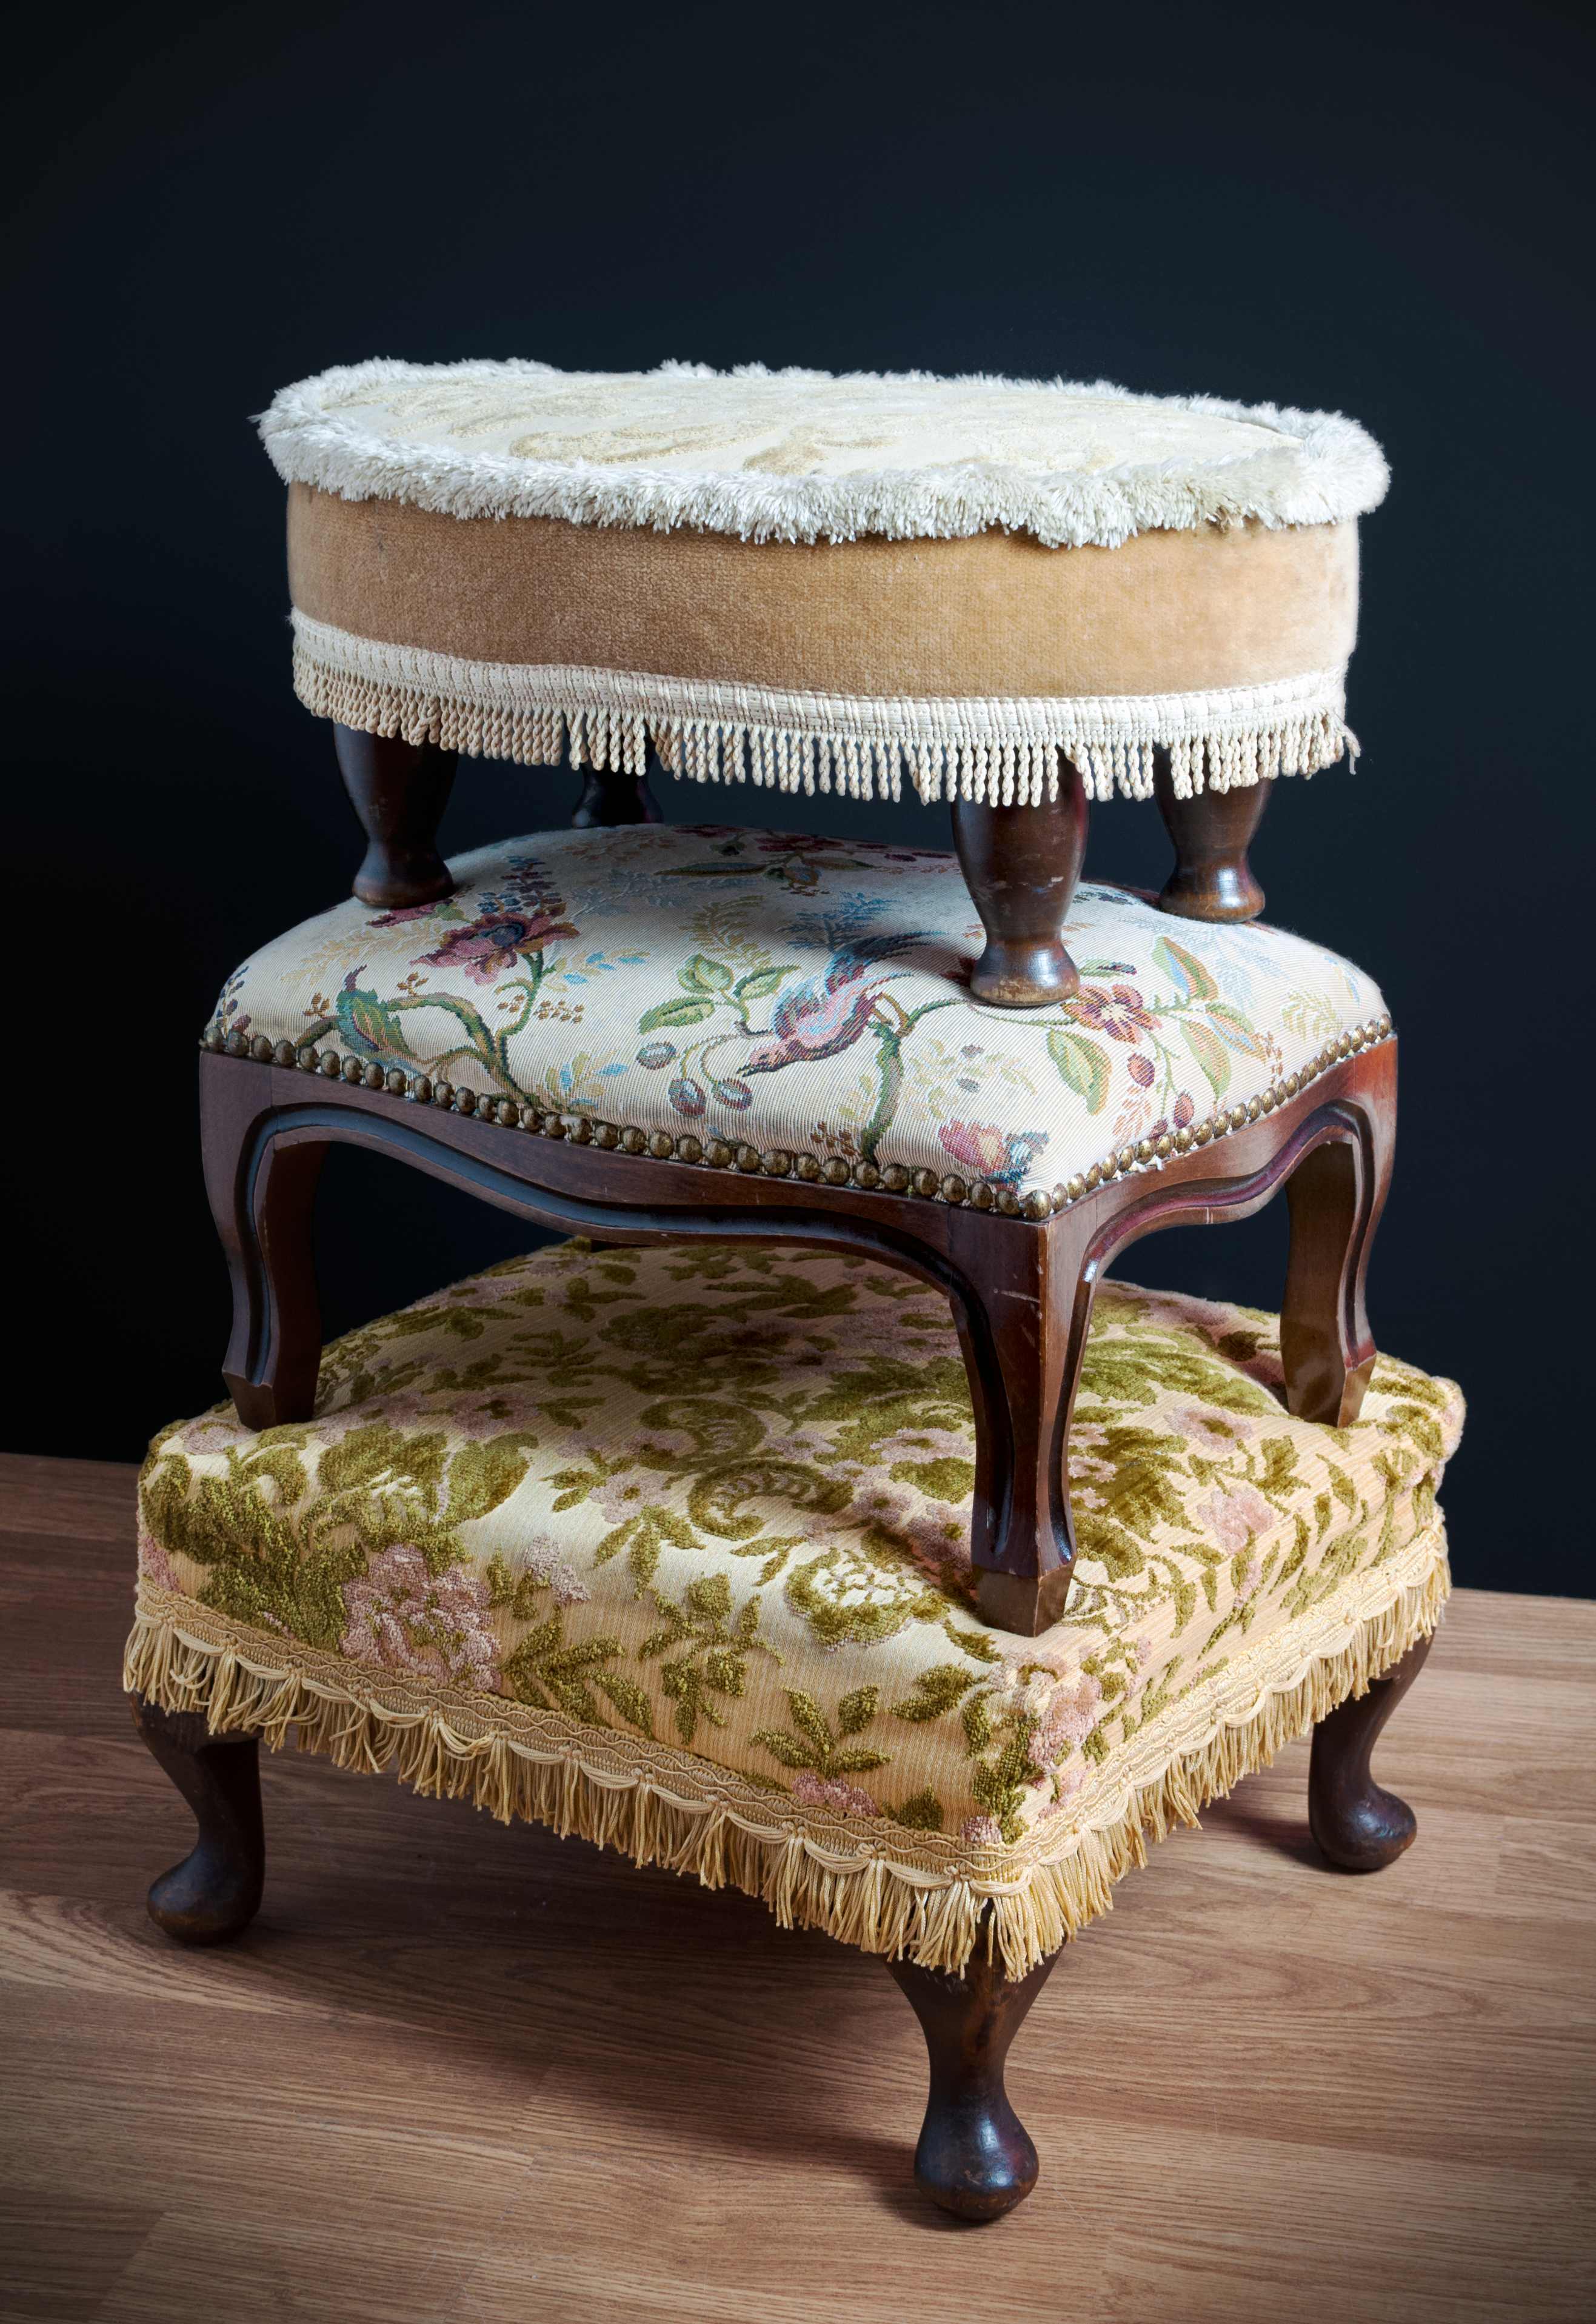
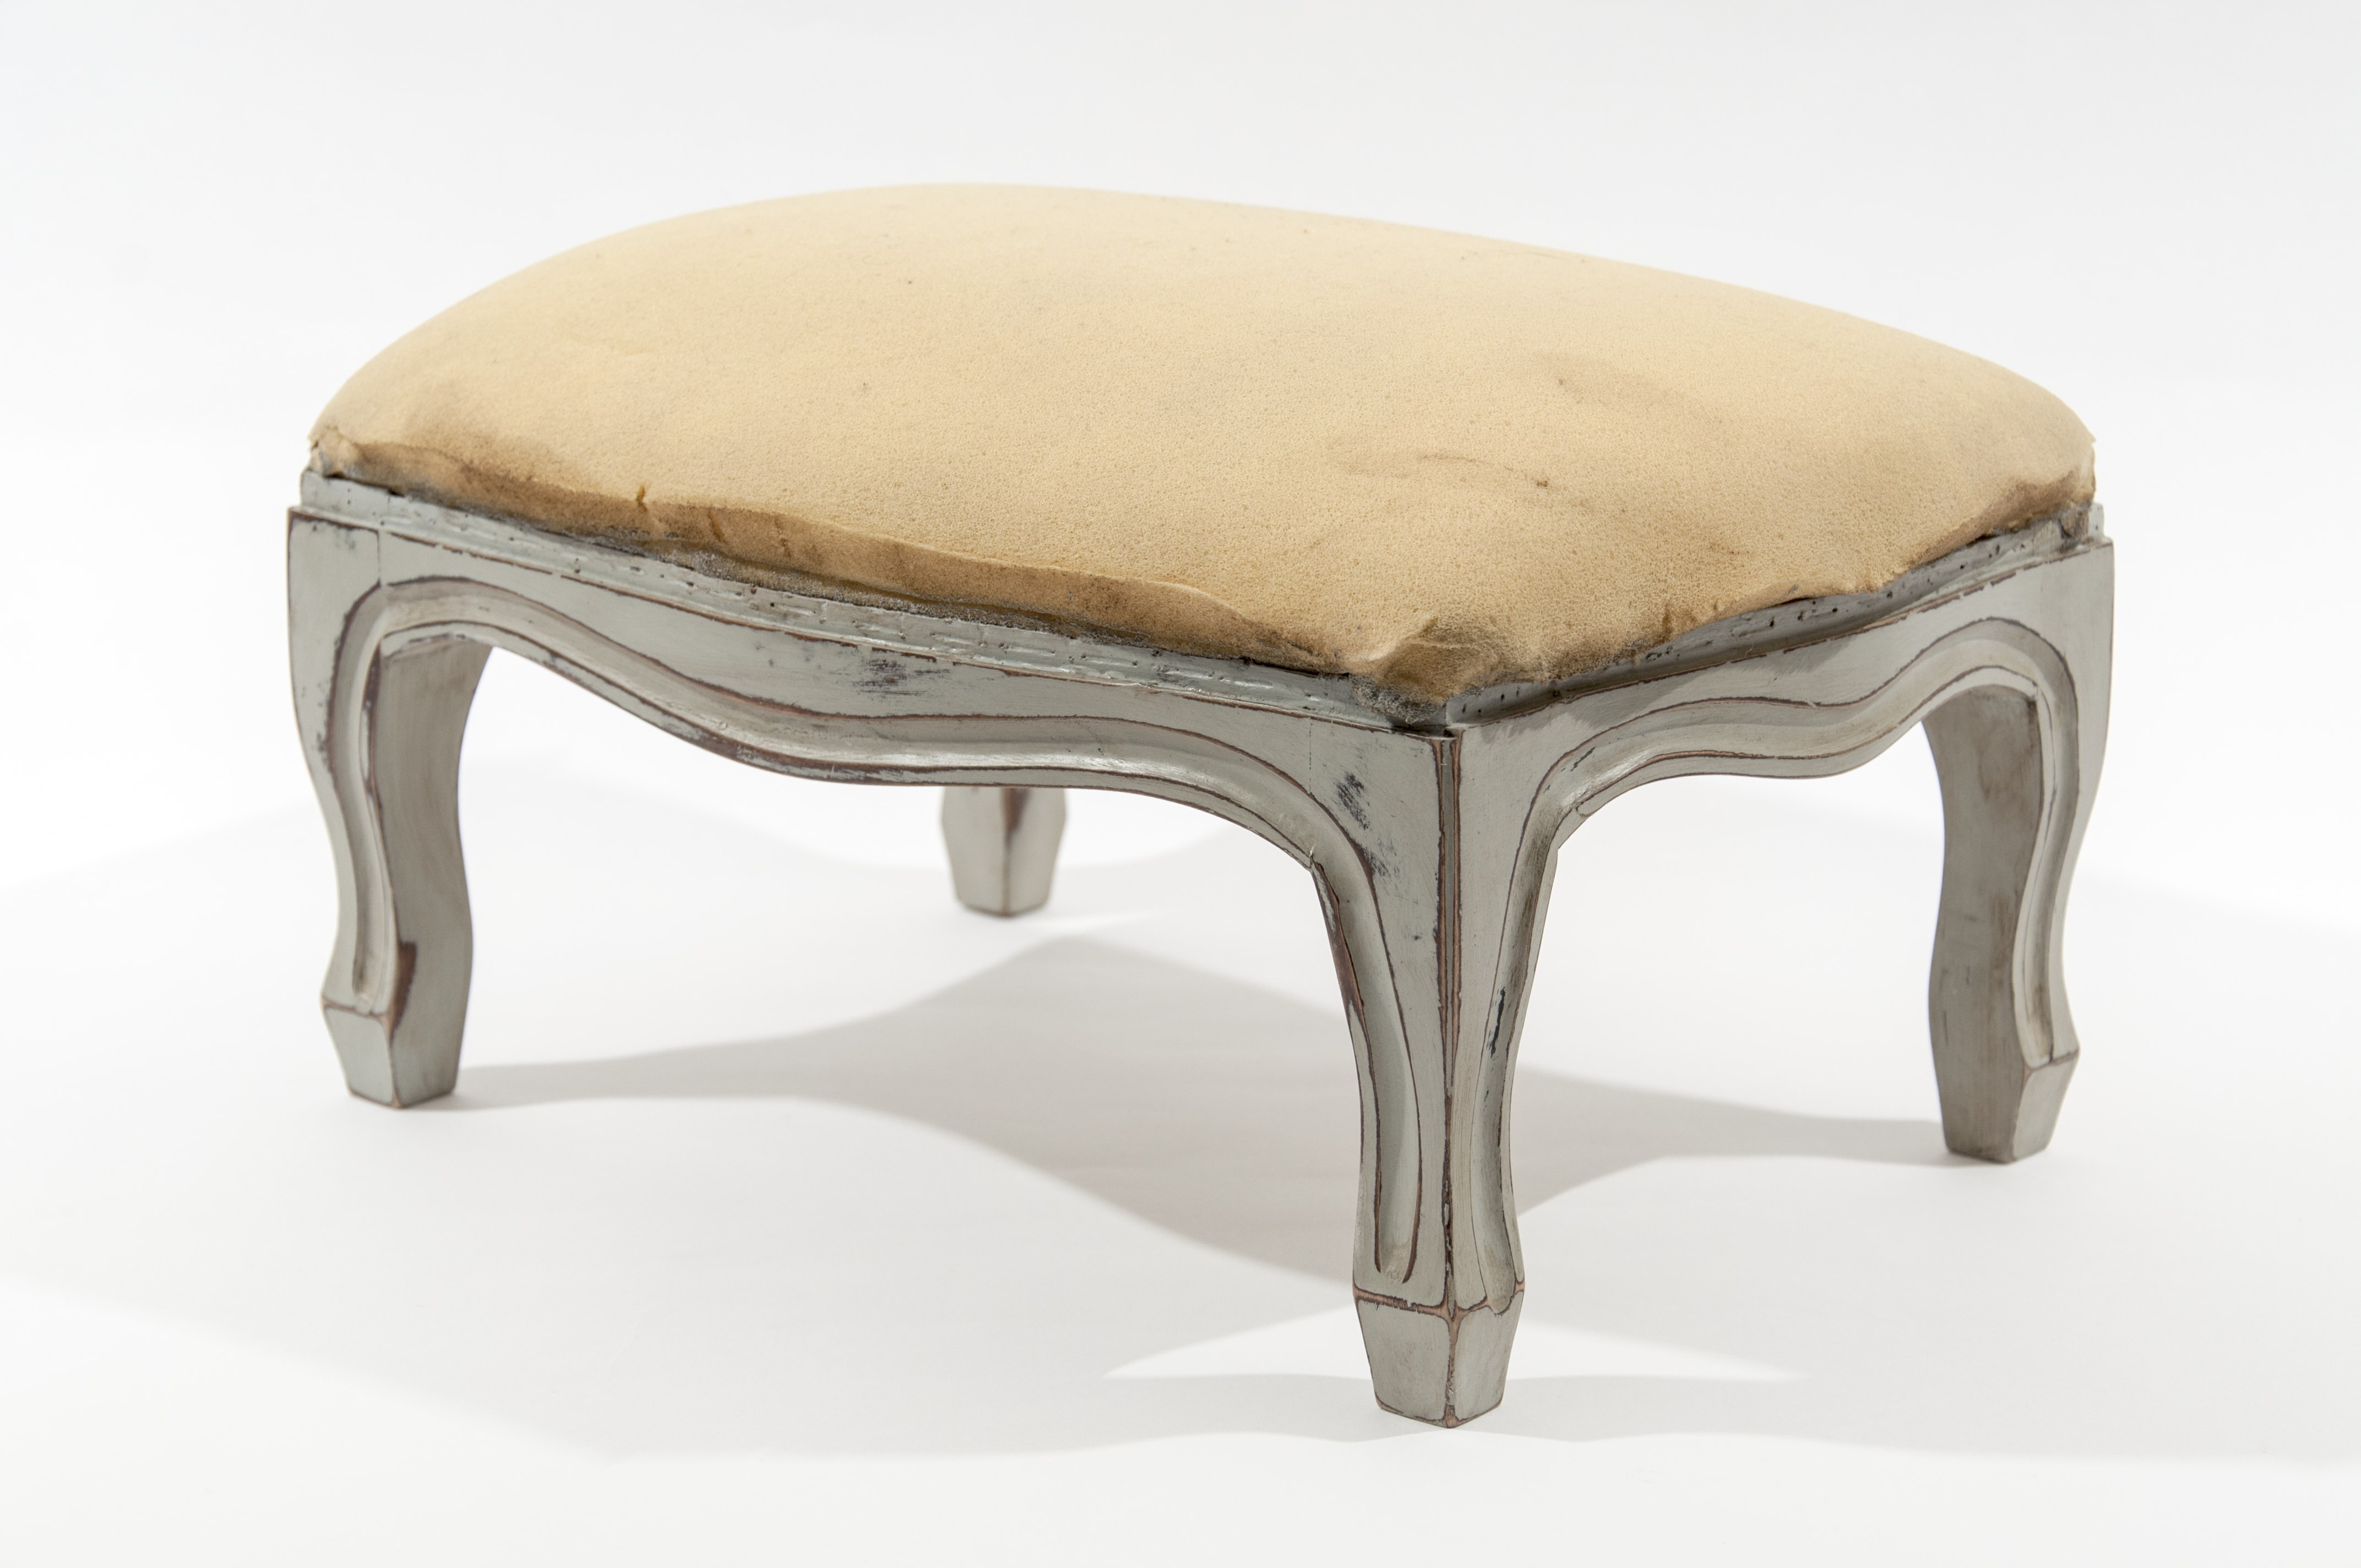
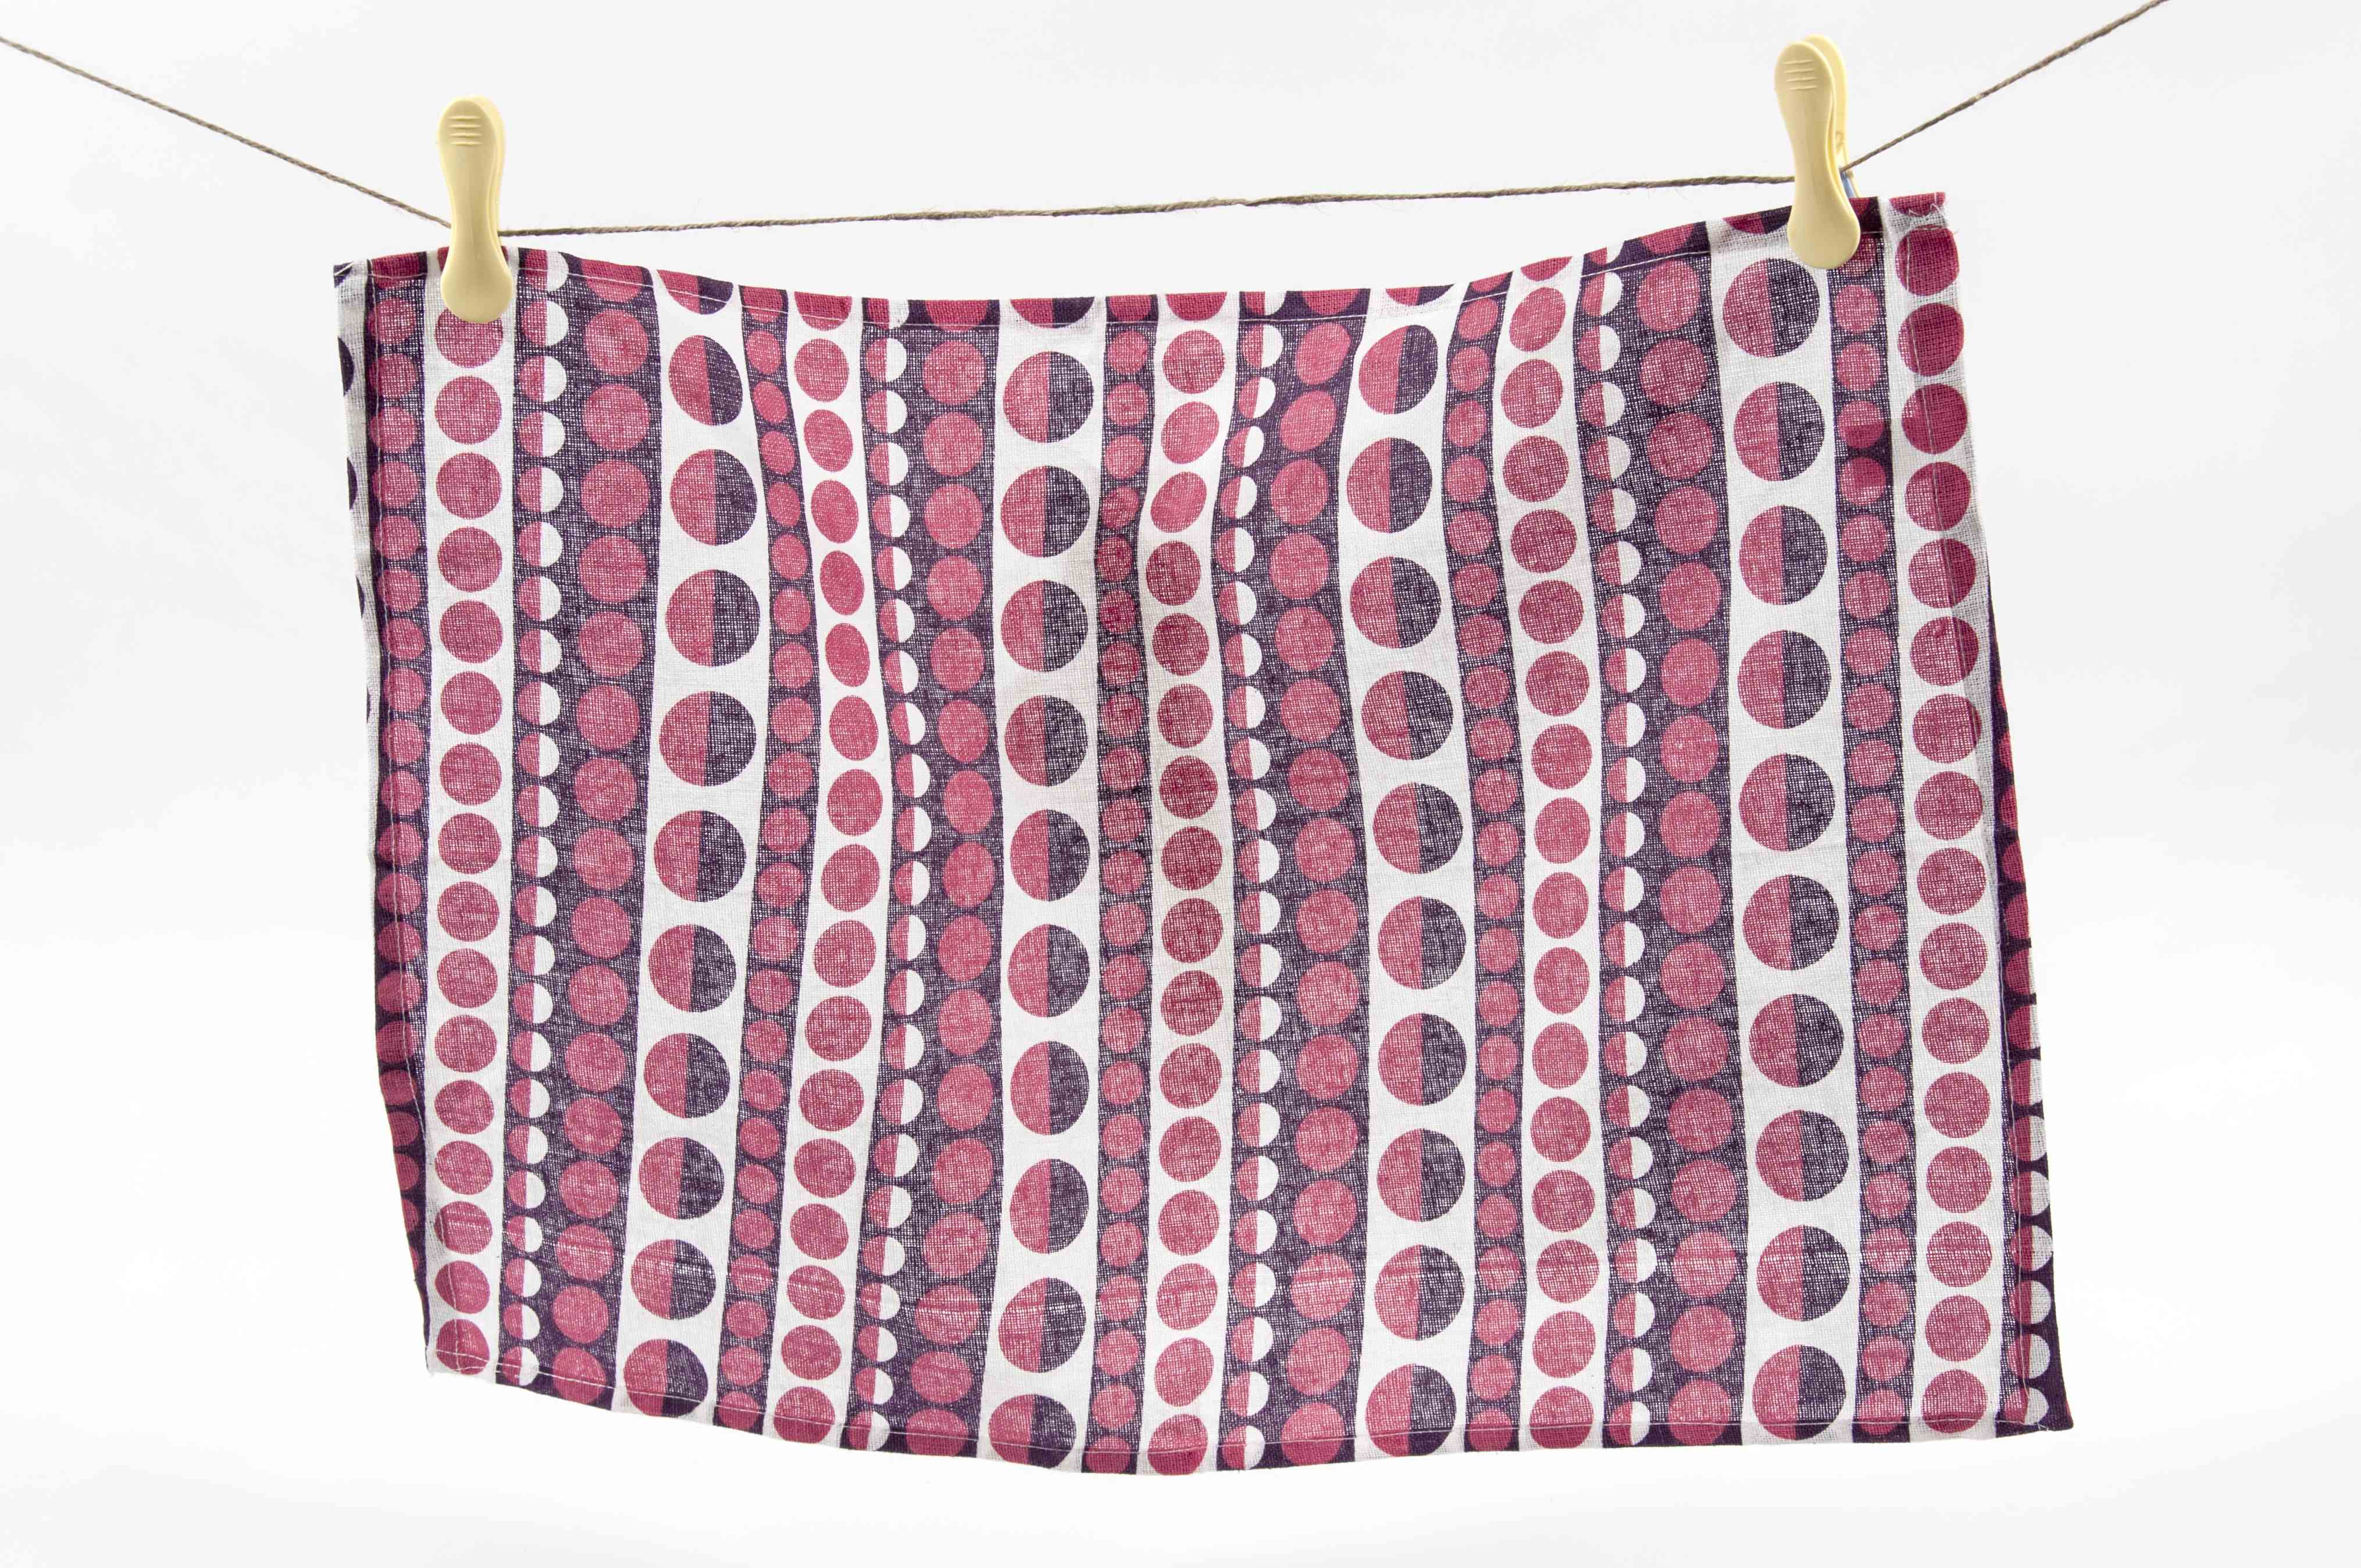
Step 1: A tower of foot stools. What the foot stool looked like originally.Step 2: Original foot stool stripped of old fabric and any tacks and staples, and with legs already painted, distressed and waxed.Step 3: The length of upholstery tack strip needs to be long enough to work around the whole of the edge of the top of the foot stool.Step 4: You will need sufficient fabric to cover the top of the foot stool plus an inch for turnover. I’ve used a vintage-style tea towel to cover this foot stool.Step 5: Start by stapling each edge in the centre point of the fabric, creating a smooth seam by turning the fabric back on itself by about and inch.Step 6: Once you’ve secured each edge you can start stapling along each edge fully. You will need to pull the fabric taut in order to avoid an uneven finish, but do not stretch it so much that you the pattern if the fabric has one.Step 7: Next attach the upholstery tack trim by bending it around the edges of the foot stool to cover the line of staples. Use a hammer and watch out for your fingers!Step 8: The finished foot stool transformed into something really rather lovely. Definitely something to be proud of!Alternative trims and finishes: You don’t have to limit yourself to upholstery tacks to finish your foot stool off. Pom poms, braiding, ribbon, and even buttons can be glued or stitched around the edge of your foot stool to cover the staples and create a unique trim. You also don’t need to use one whole piece of fabric. A great way of using up remnants of fabric is create a patchwork foot stool. This is a great way to mix up print styles.The finished stool! A foot stool makes a great little punch of detail in a room if you don’t feel confident yet to reupholster a whole chair or sofa. Kids love sitting on them too!